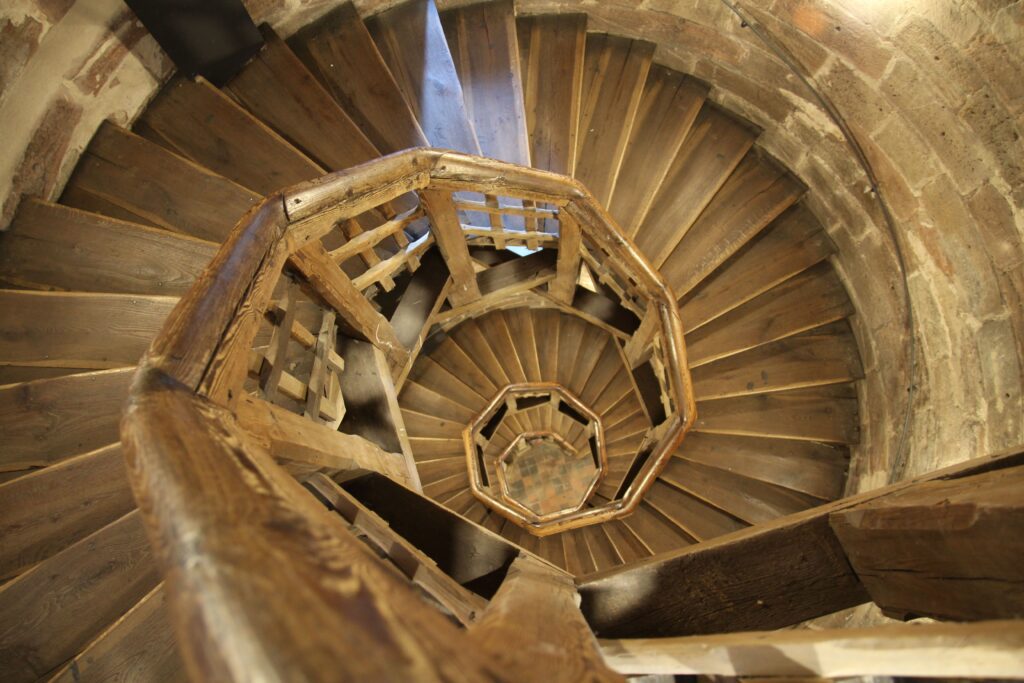
Expert Guide: How to Transform Your Staircase into a Stunning Architectural Masterpiece
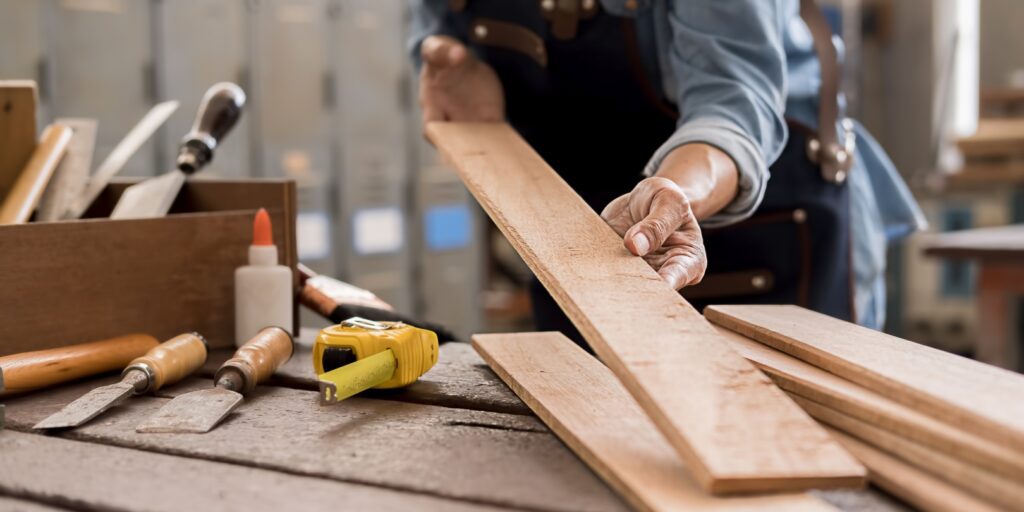
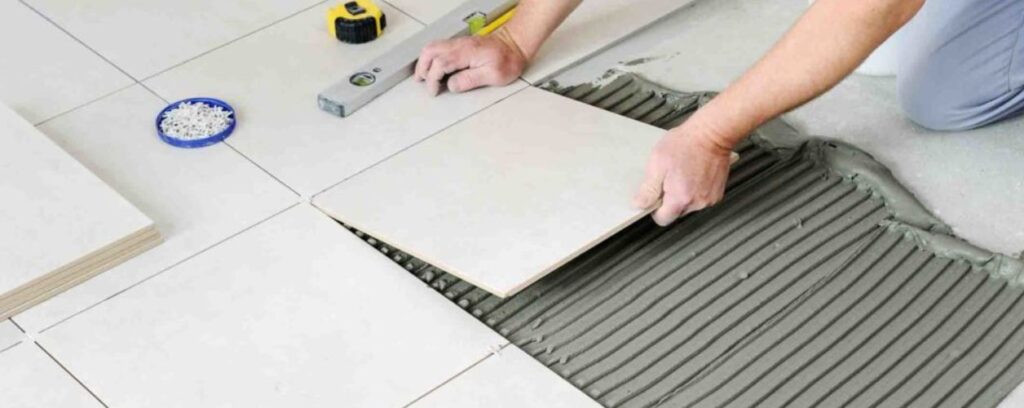
Discover the secrets of turning ordinary staircases into extraordinary works of art that blend timeless craftsmanship with modern design elegance. In this comprehensive guide, we’ll explore professional techniques, innovative designs, and safety considerations that will help you transform your staircase into a stunning architectural feature that adds value and character to your home. Understanding Your Staircase’s Potential Before embarking on any transformation project, it’s crucial to understand that your staircase holds immense potential as both a functional element and an artistic statement. According to recent architectural surveys, 78% of home buyers consider unique staircase designs a significant value-adding feature. The key to unlocking this potential lies in balancing aesthetic appeal with structural integrity and safety compliance. Safety First: Essential Building Regulations All stairways require handrails on both sides unless specifically exempted by width requirements OSHA standards mandate specific construction parameters for both standard and specialty stairways Minimum handrail height must be between 900mm and 1000mm from the pitch line Maximum gap between balusters must not exceed 100mm Proper lighting levels of at least 100 lux must be maintained throughout the stairwell Structural Assessment and Planning A thorough structural assessment is essential before any transformation work begins. Our professional team evaluates key aspects including:load-bearing capacity, existing material condition, and structural integrity. We create detailed blueprints that account for both aesthetic improvements and necessary structural reinforcements. Recent studies show that 92% of successful staircase renovations begin with comprehensive structural planning. Design Elements That Transform The transformation from ordinary to extraordinary relies heavily on selecting the right combination of design elements. Modern staircase design has evolved significantly, with 2024 seeing a 45% increase in demand for mixed-material designs. The key is creating a harmonious blend of traditional craftsmanship with contemporary aesthetics. Material Selection and Combinations Premium Hardwoods: Oak, walnut, and maple for treads and handrails Metal Accents: Brushed steel, bronze, and black iron for modern contrast Glass Panels: Toughened glass balustrades for contemporary elegance Innovative Composites: High-performance materials for durability and style Sustainable Options: FSC-certified woods and recycled materials Balustrade and Handrail Innovation Modern balustrade designs must balance safety regulations with aesthetic appeal. Current trends show a 60% increase in minimalist designs that maintain structural integrity while creating visual impact. We specialise in creating custom solutions that meet all safety requirements while pushing design boundaries. Advanced Craftsmanship Techniques Expert craftsmanship is the cornerstone of exceptional staircase transformation. Our master carpenters employ both traditional and cutting-edge techniques to create stunning details that set your staircase apart. Recent industry data indicates that hand-crafted elements can increase property value by up to 15%. Custom Woodworking Details Hand-carved newel posts with bespoke designs Intricate string decorations and shadow gaps Custom profiled handrails and cappings Detailed architectural moldings and trim work Precision-engineered joints and connections Innovative Lighting Integration Strategic lighting can dramatically enhance your staircase’s architectural features. LED technology has revolutionised stair lighting, with a 75% increase in integrated lighting solutions in high-end residential projects. We specialise in creating subtle yet effective lighting schemes that complement your design. Professional Installation Considerations Professional installation is crucial for ensuring both safety and longevity. Our team adheres to strict quality control measures and installation protocols, ensuring every project meets or exceeds industry standards. Statistics show that professionally installed staircases have a 40% longer lifespan compared to DIY installations. Safety Compliance and Building Codes Regular safety inspections during installation Compliance with current building regulations Proper documentation and certification Expert fitting of all safety features Final safety audit and sign-off Quality Control and Finishing Our quality control process ensures flawless execution at every stage. We use premium finishing products and techniques that extend the life of your staircase by up to 25 years with proper maintenance. Maintaining Your Architectural Masterpiece Proper maintenance is essential for preserving both the beauty and functionality of your transformed staircase. Our comprehensive care guide helps clients protect their investment and ensure lasting quality. Care and Preservation Regular cleaning with appropriate products Quarterly maintenance checks Annual professional inspection Immediate attention to any wear or damage Seasonal adjustments for wooden components Future-Proofing Your Investment We design our staircases to stand the test of time, both aesthetically and functionally. Our designs incorporate features that allow for future updates without major structural changes, ensuring your investment remains valuable for years to come. Expert Consultation and Next Steps Ready to transform your staircase into an architectural masterpiece? Contact Kent Carpenters for a personalised consultation. Our expert team will guide you through every step of the process, from initial design to final installation. Call us today on 01234 567890 or visit our showroom to explore the possibilities for your home. FAQ What is the golden rule for stairs? The ideal stair design follows a simple formula: the sum of two risers and one tread should equal between 24 and 25 inches. This ensures a comfortable stride for most users. For example, a 7-inch riser paired with an 11-inch tread (7 + 7 + 11 = 25) would meet this guideline. What is the 3 point contact rule for stairs? The three points of contact rule is simple. When climbing or descending ladders, trucks and equipment, always maintain contact with one hand and two feet, or two hands and one foot. If you maintain three points of contact while you climb, you can limit your exposure to slips and falls. Sources [1] https://algo.monster/liteproblems/70 [2] https://www.dir.ca.gov/title8/3214.html [3] https://www.enjoyalgorithms.com/blog/climbing-stairs-problem/