Why Every DIY Enthusiast Should Take a Basic Carpentry Course: A Complete Guide
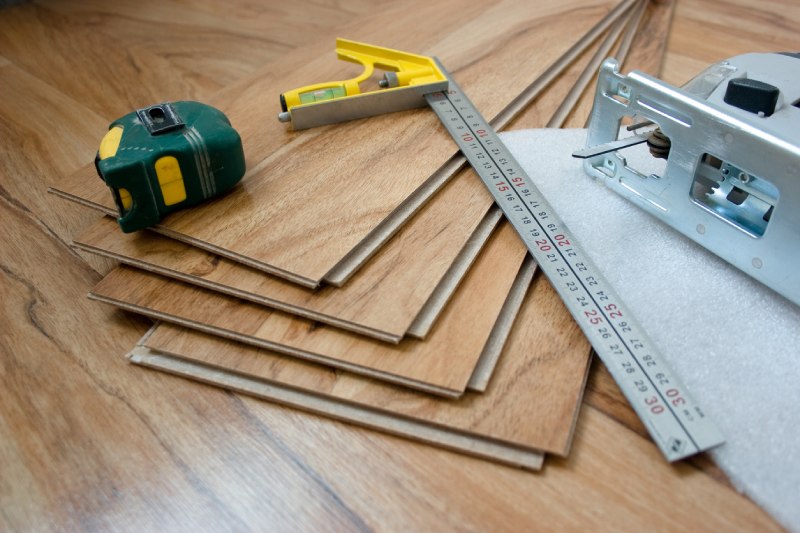
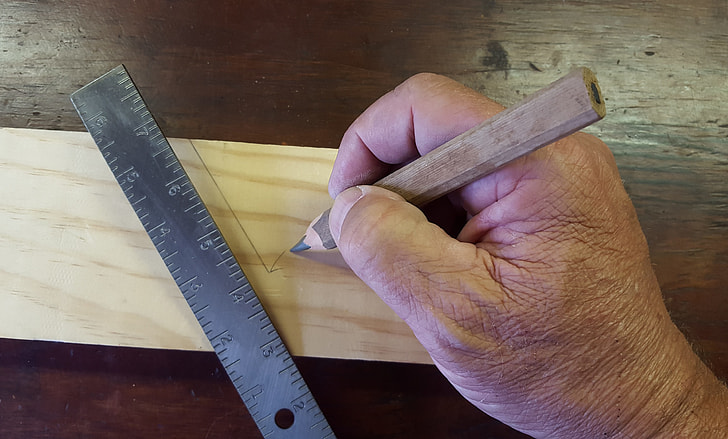
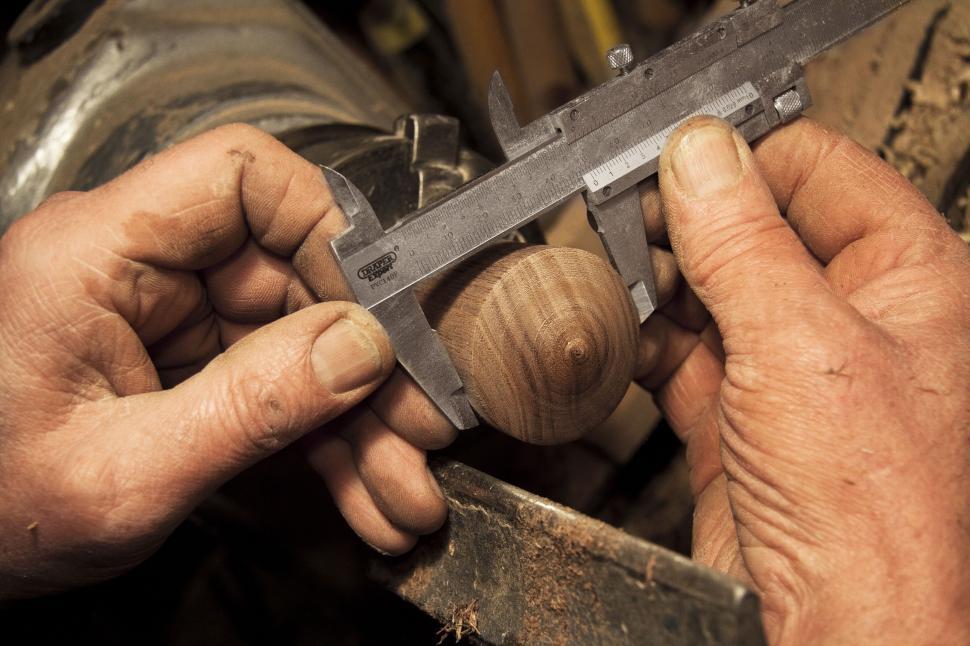
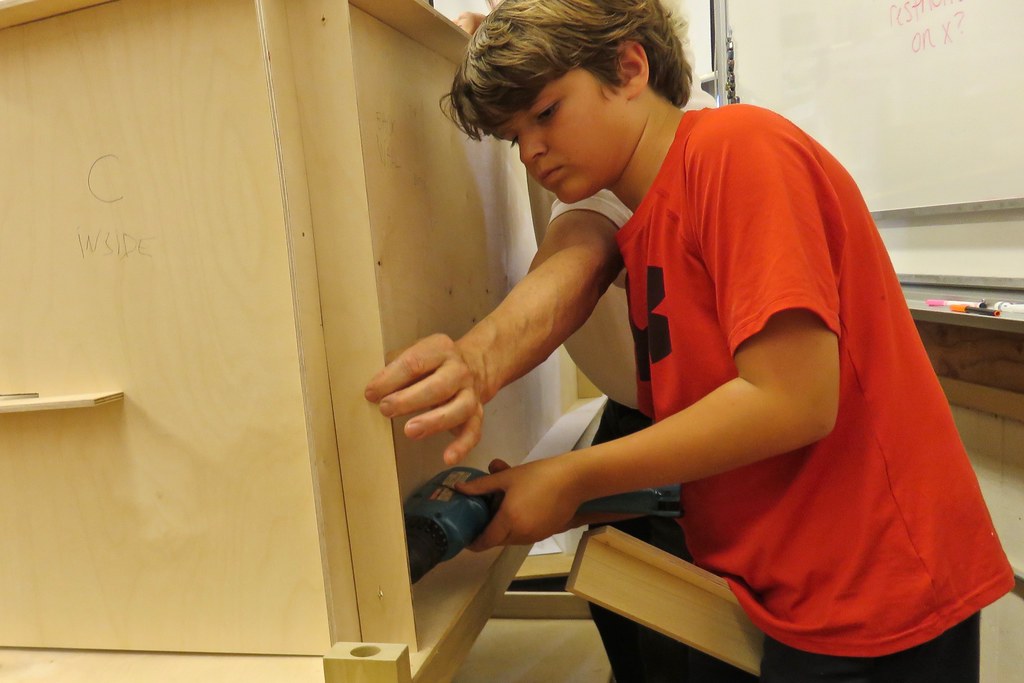
Transform your DIY dreams into reality with a basic carpentry course that unlocks the foundation of professional woodworking skills. The Hidden Value of Carpentry Skills for DIY Success In today’s rapidly evolving DIY landscape, basic carpentry skills have become increasingly valuable for home enthusiasts. Recent studies show that over 67% of UK homeowners undertake DIY projects annually, yet many lack the fundamental knowledge to execute them properly. A basic carpentry course provides the essential foundation that separates successful projects from costly mistakes. By investing in proper training, DIY enthusiasts can save an average of £2,500 annually on professional services while gaining the confidence to tackle more complex projects. The skills learned in these courses extend far beyond simple woodworking, encompassing project planning, material selection, and safety protocols that are crucial for any serious DIY undertaking. Understanding the Fundamentals of Carpentry Mastering carpentry basics begins with understanding the core principles that govern all woodworking projects. These fundamentals include precise measurement techniques, understanding wood properties and behaviour, and the ability to read and interpret building plans. According to industry experts, 90% of DIY project failures stem from a lack of basic knowledge rather than execution errors. A solid grasp of these fundamentals not only improves project outcomes but also enhances safety and efficiency in all DIY endeavours. Essential Tools and Their Proper Use Hand Tools: Quality measuring tools, chisels, hand saws, and planes Power Tools: Circular saw, drill/driver, jigsaw, and router Safety Equipment: Safety glasses, ear protection, dust masks, and work gloves Workspace Tools: Workbench, clamps, and storage solutions Material Knowledge and Selection Understanding different wood types, grades, and their applications is crucial for project success. Learn to identify: Softwoods vs. hardwoods and their appropriate uses Plywood grades and applications Timber treatment options for different environments Sustainable and eco-friendly material choices What You’ll Learn in a Basic Carpentry Course A comprehensive basic carpentry course typically spans 8-12 weeks and covers essential skills that form the foundation of all woodworking projects. Students can expect to develop practical knowledge through a combination of theoretical learning and hands-on experience, with 70% of course time dedicated to practical work. Modern courses increasingly incorporate sustainable building practices and energy-efficient construction techniques, reflecting current industry trends. Safety First: Professional Guidelines and Best Practices Workplace safety is paramount in carpentry. Recent statistics show that proper safety training can reduce workshop accidents by up to 85%. Students learn: Proper tool handling and maintenance Workshop safety protocols Risk assessment techniques Emergency response procedures Fundamental Building Techniques Master the essential techniques that form the backbone of all carpentry projects: Accurate measuring and marking Basic joinery methods Cutting and shaping techniques Assembly and finishing procedures Project Planning and Execution Learn to approach projects systematically, from initial concept to final execution. This includes understanding building regulations, creating detailed project plans, and managing timelines effectively. Proper planning can reduce project costs by up to 25% and significantly improve outcomes. The Real-World Benefits of Carpentry Training The practical advantages of formal carpentry training extend far beyond the workshop. UK homeowners with basic carpentry skills save an average of £3,000 to £5,000 annually on home maintenance and improvement projects. Additionally, these skills can lead to income opportunities, with part-time DIY consultants earning £25-45 per hour in the current market. Cost Savings and Project Quality Reduced material waste through proper planning Fewer costly mistakes requiring professional intervention Better understanding of material costs and budgeting Higher quality finished projects Expanded Project Capabilities With proper training, DIY enthusiasts can confidently tackle more complex projects, including: Custom furniture creation Built-in storage solutions Basic structural repairs Home improvement projects Choosing the Right Carpentry Course Selecting the appropriate training program is crucial for success. Consider that 85% of successful DIY practitioners recommend starting with an accredited course. The UK offers various learning options, from traditional college courses to modern online platforms, with prices ranging from £200 to £2,000 depending on the depth and duration of training. In-Person vs. Online Learning Options In-Person Courses: Hands-on experience, direct instructor feedback, structured learning environment Online Courses: Flexible scheduling, lower cost, self-paced learning Hybrid Programs: Combination of online theory and in-person practical sessions Course Selection Criteria Consider these key factors when choosing a carpentry course: Accreditation and certification options Instructor qualifications and experience Course duration and schedule flexibility Equipment and materials provided Post-course support and resources Taking Your DIY Skills to the Next Level Advancing your carpentry skills is a journey of continuous learning and practice. Professional carpenters recommend spending at least 100 hours in practical application to solidify basic skills. Regular practice, combined with ongoing education through workshops and advanced courses, helps develop expertise and confidence in tackling more complex projects. Next Steps and Resources Research local carpentry courses and compare offerings Join DIY communities and forums for support and advice Create a basic tool kit within your budget Start with simple projects to build confidence Document your progress and learn from each project Remember, investing in a basic carpentry course is more than just learning to work with wood – it’s about gaining the confidence and skills to transform your living space and potentially save thousands on home improvements. Whether you’re aiming to tackle weekend projects or pursuing a new hobby, the knowledge gained from a basic carpentry course will serve you well for years to come. FAQ How do carpenters normally start their career? Carpenters typically learn on the job or through apprenticeships. They often begin doing simple tasks, such as measuring and cutting wood, under the guidance of experienced carpenters or other construction workers. They then progress to more complex tasks, such as reading blueprints and building wooden structures. Can I do carpentry as a hobby? Carpentry can be a physically demanding hobby, and using power tools and drills comes with some risk – so it’s important to do your research before you start. It’s also helpful to think about where you’d like your carpentry journey to take you. How to start carpentry with no experience? With no experience, you can qualify