Carpentry vs Joinery: The Ultimate Guide to Understanding Their Unique Craftsmanship
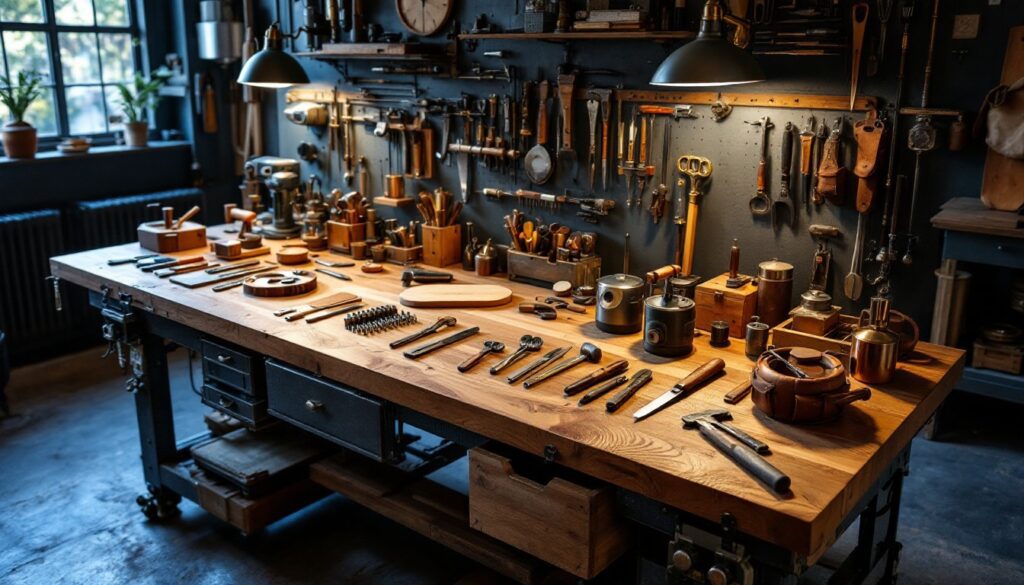
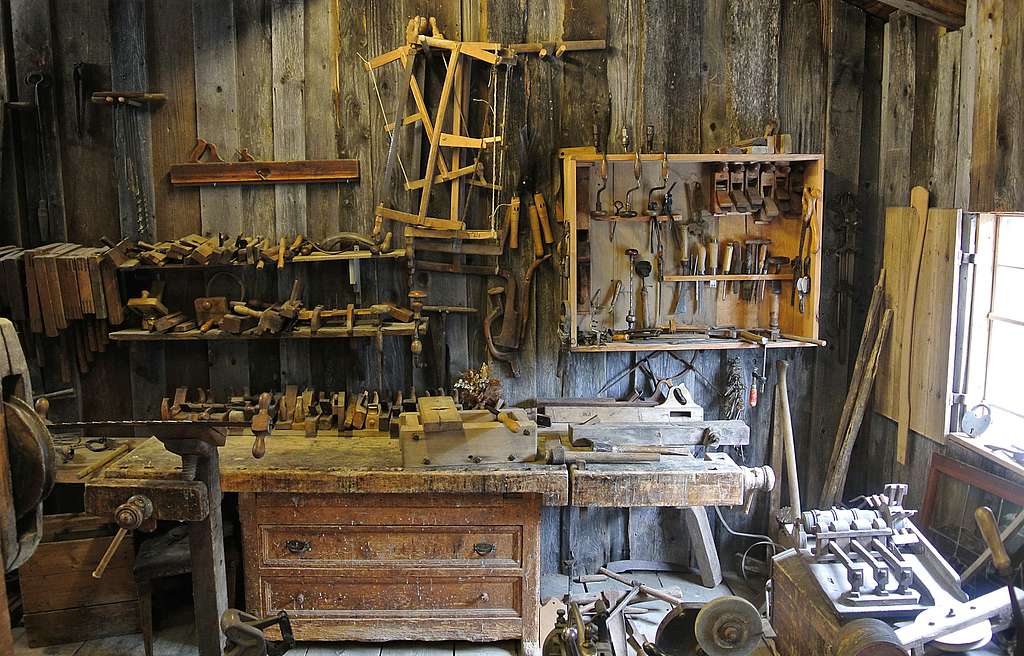
Confused about the difference between carpentry and joinery? Discover why these two woodworking trades are distinct yet complementary crafts that shape our homes in unique ways. Understanding the Fundamental Differences While both carpentry and joinery are skilled woodworking trades, they serve distinctly different purposes in the construction and finishing of buildings. The main distinction lies in their work environment, techniques, and the stage at which they contribute to a project. According to recent industry surveys, approximately 85% of joinery work takes place in workshops, while carpenters spend roughly 90% of their time working directly on construction sites. This fundamental difference shapes everything from the tools they use to the projects they undertake. Joiners primarily focus on creating precise, pre-fabricated wooden components in controlled workshop environments. Their work requires exceptional attention to detail and often involves creating complex joints that fit together perfectly without the need for mechanical fasteners. In contrast, carpenters are construction specialists who work primarily on-site, installing and assembling wooden structures and components, often using a combination of traditional woodworking skills and modern construction techniques. The Art of Joinery: Workshop Precision Joinery represents the more intricate and detailed aspect of woodworking, with a focus on creating beautiful, functional pieces that often become permanent fixtures in buildings. Recent studies show that demand for bespoke joinery has increased by 25% in the past year, reflecting growing appreciation for customised, high-quality woodwork. Specialized Workshop Environment Climate-controlled conditions for optimal wood handling Precision machinery and static power tools Dedicated spaces for different stages of production Storage facilities for timber seasoning and project components Traditional Joining Techniques Mortise and tenon joints Dovetail joints Tongue and groove connections Housing joints Finger joints Types of Joinery Projects Joiners typically create: Bespoke doors and windows Custom-built furniture Fitted wardrobes and cabinets Ornamental woodwork Staircases and handrails Carpentry: On-Site Construction Expertise Carpentry plays a crucial role in the construction process, with carpenters being among the first trades on site and often the last to leave. Industry statistics indicate that carpentry services account for approximately 30% of all construction trade activities in the UK. Modern carpenters combine traditional skills with contemporary building techniques to create strong, durable structures. On-Site Construction Skills Reading and interpreting construction plans Structural framework assembly Roof construction and installation Floor laying and levelling Site measurement and adaptation Building Element Installation Carpenters are responsible for installing: Structural timber frames Roof trusses and rafters Floor joists and decking Window and door frames Timber cladding and weatherboarding Tools and Techniques: A Comparative Look The distinction between carpentry and joinery is perhaps most evident in their toolsets and working methods. While there is some overlap, each trade has specific tools that reflect their unique approaches to woodworking. Joinery Tools and Methods Precision measuring tools (digital callipers, micrometers) Specialist planes and chisels Router tables and spindle moulders Band saws and table saws Wood lathes for turning Carpentry Tools and Applications Power tools (circular saws, drills, nail guns) Levels and laser measurement tools Heavy-duty equipment for structural work Portable workbenches Safety equipment for site work When to Choose a Carpenter vs a Joiner Selecting the right specialist for your project is crucial for achieving the desired outcome. Research shows that 40% of project delays occur due to incorrect trade selection at the planning stage. Understanding which professional to hire can save time, money, and ensure quality results. Project Requirements Analysis Choose a joiner for: Custom furniture, fitted wardrobes, bespoke doors Choose a carpenter for: Structural work, installation, on-site modifications Consider both for: Large renovation projects, new builds, commercial fit-outs Collaboration Between Trades Many successful projects involve both trades working in harmony. For example, a joiner might craft a beautiful staircase in their workshop, while a carpenter ensures its proper installation on-site. This collaboration ensures the highest quality outcome for complex projects. Making the Right Choice for Your Project The final decision between hiring a carpenter or joiner should be based on your specific project requirements, budget, and desired outcome. Consider these key factors when making your choice: Decision Factors Project location (on-site vs pre-fabricated) Level of customisation required Project scale and complexity Budget constraints Timeline requirements Professional Recommendations For the best results, consider these expert suggestions: Consult with professionals early in the planning stage Request portfolios of similar projects Check qualifications and insurance Obtain detailed quotes and timelines Discuss material options and finishing details Whether you need the precision of a joiner’s workshop craftsmanship or the practical expertise of a site carpenter, Kent Carpenters can guide you to the right solution for your project. Contact our team today to discuss your woodworking needs and receive expert advice on the best approach for your specific requirements. FAQ Why is a joiner called a carpenter? Confusingly, in the UK the use of either term is dependent on location. For example, in the South of England people tend to use the term carpenter whereas in the North of England people prefer to use the term joiner. Joinery and carpentry are both wood-based construction trades. How much does a joiner make in America? A Joiner in your area makes on average $27 per hour, or $0.79 (30.147%) more than the national average hourly salary of $26.12. Illinois ranks number 24 out of 50 states nationwide for Joiner salaries. Is a biscuit a carpenter joint? Woodworkers and carpenters have been using biscuit joints since the mid-1950s to tackle assembly and alignment challenges. They’re perfect for projects like cabinets, picture frames and tabletops—where speed, efficiency and alignment matter more than heavy load-bearing strength. What is a joiner called in America? Commonly Used American Terms for Joiners In the U.S., the term “joiner” might confuse more people than it informs. Instead, Americans use terms like “finish carpenter,” “cabinetmaker,” or even “millworker” to describe the same profession. Are there different types of carpentry? Carpentry covers various services, such as furniture design and construction, door and window installation or repair, flooring installation, trim and molding installation, custom woodworking, stair construction, structural framing, wood structure and furniture repair, and