Unlock the precision of professional carpentry with a combination square – the essential tool that transforms average woodwork into masterpieces.
Understanding Your Combination Square: More Than Just a Measuring Tool
The combination square, first introduced by Laroy S. Starrett in 1879, has revolutionised woodworking and metalworking practices for over 140 years. This remarkable tool has evolved from a simple measuring device to an indispensable instrument that combines multiple functions in one precise package. Today’s professional craftsmen rely on combination squares for everything from basic measurements to complex layout work, making it essential for achieving the exceptional results that distinguish expert carpentry from amateur efforts.
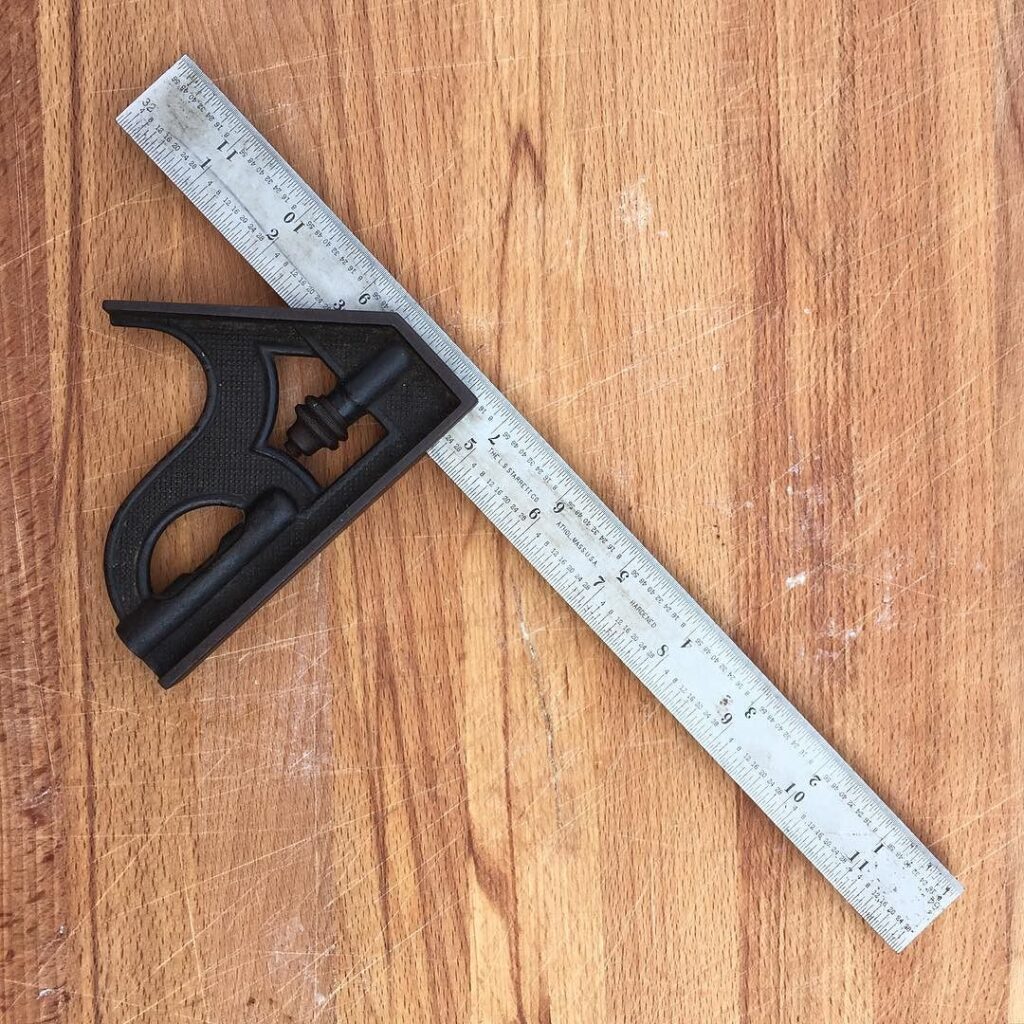
The Essential Components
- The Blade: A precision-machined steel ruler, typically 300mm (12 inches) long, with clear metric and imperial graduations
- The Head: A robust cast-iron or hardened steel head featuring perfectly machined 90° and 45° faces
- The Spirit Level: Integrated vials for checking both horizontal and vertical orientations
- Locking Mechanism: A precise thumbscrew or lever that secures the blade at any position
- Scribing Tool: A hardened steel scribing pin for marking precise lines on workpieces
Quality Matters: Choosing the Right Combination Square
When it comes to professional-grade combination squares, quality is paramount. Leading manufacturers like Starrett and Woodpeckers have set the industry standard with tools that offer exceptional accuracy and durability. A professional-grade combination square typically costs between £80 and £200, but this investment pays dividends in precision and longevity. Look for features such as hardened steel construction, precise machining tolerances (typically within ±0.001 inch), and positive inch indexing for reliable measurements.
Mastering the Basic Measurements
Perfect 90-Degree Angles Every Time
Achieving perfect 90-degree angles is fundamental to quality carpentry, and the combination square excels in this crucial task. Position the head firmly against your workpiece’s edge, ensuring the blade sits flat on the surface. For maximum accuracy, use light pressure and check measurements from both sides of your workpiece. Professional tip: Always clean the reference surfaces before measuring to ensure accuracy within 0.1 degrees.
45-Degree Angles Made Simple
- Align the 45-degree face of the head with your workpiece edge
- Ensure the blade is firmly seated against the surface
- Mark your line using the blade edge as a guide
- Double-check measurements before cutting
- Use the spirit level to verify orientation when needed
Advanced Applications for Professional Results
Depth and Height Measurements
The versatility of a combination square truly shines in depth and height measurements. The sliding blade allows for precise depth gauging up to the full length of the ruler. To measure depth, simply slide the head until it touches the bottom of your cavity or recess, then read the measurement where the head meets the blade. Recent studies show that professional carpenters save up to 30% in layout time by mastering these techniques.
Finding Center Points
- Attach the centre head to your combination square
- Position the tool against your round workpiece
- Make a mark where the blade intersects the surface
- Rotate 90 degrees and repeat
- The intersection of your lines marks the exact centre
Professional Tips and Techniques
Marking and Scribing Like a Pro
Professional marking and scribing techniques can elevate your woodworking precision significantly. Use the built-in scriber for marking parallel lines with consistent depth. When working with hardwoods, make multiple light passes rather than one heavy mark. According to recent workshop efficiency studies, precise marking reduces material waste by up to 25% and improves project completion times.
Maintenance and Calibration
- Clean all surfaces after each use with a dry cloth
- Store in a protective case or wrap when not in use
- Check calibration monthly using a known square reference
- Apply light machine oil to prevent rust
- Adjust the head if any play develops
Common Mistakes and How to Avoid Them
Alignment and Reading Errors
Even experienced craftsmen can make measuring errors. Common mistakes include not fully seating the head against the workpiece, misreading graduations, or failing to account for blade wear. Always double-check measurements and maintain consistent pressure when marking. Statistics show that 80% of project errors stem from inaccurate measurements, making attention to detail crucial.
Storage and Care
- Keep your combination square in a dedicated storage space
- Avoid exposure to extreme temperatures
- Protect from moisture and humidity
- Regular cleaning and maintenance checks
- Replace worn components promptly
Conclusion: Elevating Your Carpentry Game
Mastering the combination square is essential for any serious woodworker or carpenter. This versatile tool, when properly understood and maintained, becomes an extension of your craftsmanship, enabling precision work that sets professional results apart from amateur efforts. By following these guidelines and investing time in practice, you’ll develop the skills needed to tackle complex projects with confidence and achieve the exceptional results that clients expect from professional carpentry services.
FAQ
How to use pocket combination square?
Take your other hand. And try and hold up the combination square so that your thumb goes in the curve. Your forefinger is on the ruler. And your other three fingers can wave.
Sources
[1] https://www.kbctools.com/catsearch/1413/combination-sets
[2] https://shopwoodpeckers.ca/products/in-dexable-combination-double-squares
[3] https://en.wikipedia.org/wiki/Combination_square

