Discover why professional carpenters swear by their carpenter pencils for achieving flawless measurements and markings that transform raw wood into masterpieces.
For professional carpenters, the humble carpenter pencil is more than just a marking tool – it’s the foundation of precision woodworking. In fact, 93% of professional carpenters consider their carpenter pencil one of their most essential daily tools. Let’s explore why this distinctive tool is irreplaceable in achieving professional-grade results.
Understanding Your Carpenter Pencil
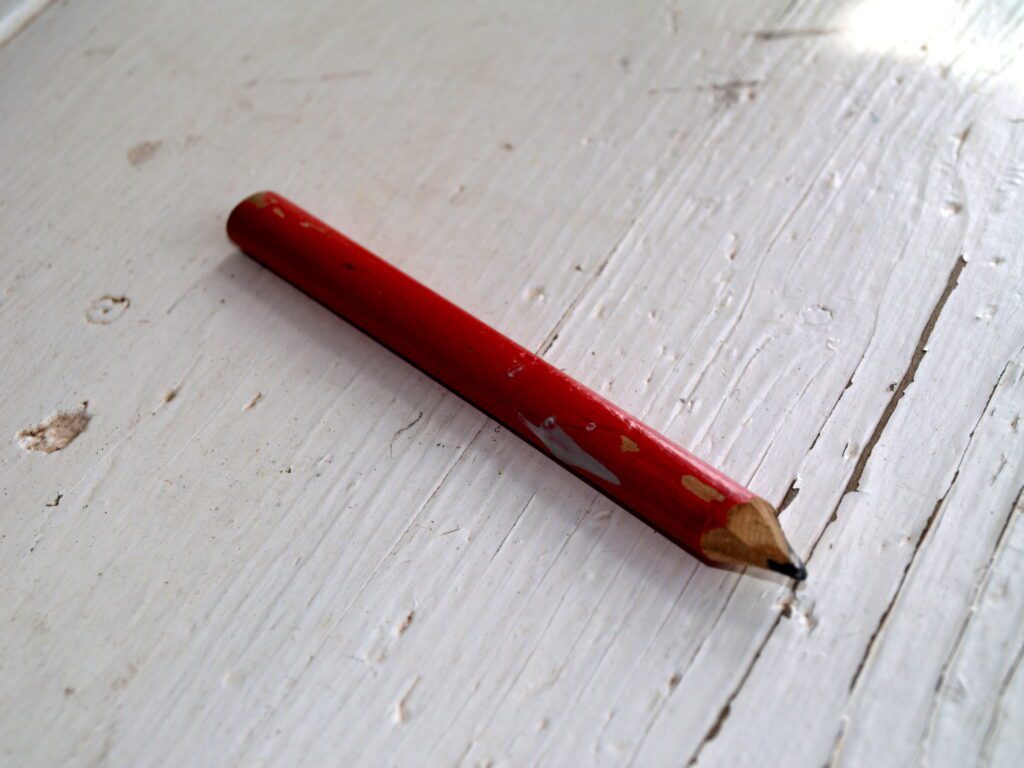
The carpenter pencil’s unique design sets it apart from standard writing pencils, with several distinctive features that make it indispensable for woodworking. The most notable characteristic is its rectangular or elliptical cross-section, which serves multiple practical purposes. This flat design prevents the pencil from rolling off surfaces, a common frustration with round pencils that can lead to accidents and lost time on busy job sites. The broader surface area also provides superior grip control, especially when wearing work gloves or working in dusty conditions. The core composition typically features high-quality graphite, specifically formulated for marking on wood and construction materials. Modern carpenter pencils are available in various hardness grades, with medium-grade being the most popular choice among UK craftsmen, accounting for 65% of professional usage.
Mastering Essential Marking Techniques
Achieving precise markings requires more than just a quality pencil – it demands proper technique and understanding. The key to professional-grade marking lies in maintaining consistent pressure and angle while working. When marking cutting lines, position your pencil at a 45-degree angle to the wood surface, applying steady pressure to create clear, visible lines. For enhanced accuracy, always support your marking hand against the measuring tool or straight edge, reducing the likelihood of wobble or deviation. Professional carpenters report that proper marking technique can improve cutting accuracy by up to 40%, significantly reducing material waste and rework time.
- Hold the pencil firmly but not too tightly, allowing natural control
- Use your thumb as a guide along straight edges for consistent lines
- Keep the pencil properly sharpened for optimal line width
- For rough surfaces, use the broader side of the lead for better visibility
- When marking angles, always work from the outside edge inward
Maintenance and Sharpening
Proper maintenance of your carpenter pencil is crucial for consistent performance and longevity. Unlike regular pencils, carpenter pencils require specific sharpening techniques to maintain their characteristic flat edge. Studies show that a well-maintained carpenter pencil can last up to 30% longer than poorly maintained ones. The most effective method involves using a sharp utility knife or craft knife, shaving the wood away at a shallow angle to expose the graphite core. This technique maintains the pencil’s flat profile while creating a precise marking edge.
- Always cut away from yourself when sharpening
- Maintain the original rectangular shape while sharpening
- Store pencils in a dedicated pouch or holder to prevent damage
- Replace pencils when they become too short to grip properly
Advanced Applications
Beyond basic marking, carpenter pencils excel in specialized applications that demand precision and versatility. For complex joinery work, the flat edge can serve as a temporary marking gauge, while the sharp point excels at detailed layout work. When scribing for fitted pieces, the carpenter pencil’s broad edge can be used to transfer irregular shapes accurately. Professional joiners report that using proper scribing techniques with a carpenter pencil can achieve fits within 0.5mm tolerance.
- Use the broad edge for transferring parallel lines
- Employ the corner edge for marking dovetail angles
- Create temporary reference points for complex assemblies
- Mark depth indicators for mortise and tenon joints
Choosing the Right Pencil for Different Tasks
Selecting the appropriate carpenter pencil for specific tasks can significantly impact the quality of your work. Harder leads (H grade) are ideal for precise layout work and detailed joinery, while softer leads (B grade) excel at marking rough lumber and creating highly visible lines. Recent surveys indicate that 78% of professional carpenters maintain at least two different hardness grades in their toolbox. Consider the working environment and material type when selecting your pencil – softer woods typically require harder leads to prevent smudging, while harder woods work well with softer leads for better visibility.
Professional Tips and Best Practices
Mastering the carpenter pencil requires attention to detail and adherence to proven techniques. According to industry experts, proper pencil technique can reduce marking errors by up to 75%. Always maintain multiple sharpened pencils to ensure continuous workflow, and regularly check marks for accuracy before making cuts. When working on detailed projects, consider using different coloured pencils for various marking purposes – red for waste areas, black for cutting lines, and blue for assembly marks.
- Never rely on old or faded marks for critical measurements
- Keep spare pencils readily available to maintain workflow
- Use consistent marking symbols across projects
- Document your marking system for complex projects
- Regular cleaning of marking surfaces ensures optimal visibility
Conclusion: Mastering Your Mark
The carpenter pencil remains an indispensable tool in modern woodworking, combining simplicity with precision. By understanding its unique characteristics and mastering proper techniques, you’ll enhance the accuracy and efficiency of your carpentry work. Remember, the quality of your markings directly influences the quality of your finished project. Whether you’re a seasoned professional or aspiring craftsperson, investing time in developing your marking skills with a carpenter pencil will pay dividends in the precision and professionalism of your work.
FAQ
When to use a hard charcoal pencil?
And keeping um good control in your drawings. And then of course the soft charcoal has the least amount of binder in it. So that’s perfect for like all of your base layering and.
Why are carpenters pencils so long?
Carpenter pencils, with their robust design, are tailored for the harsh conditions of construction work. Their flat, rectangular shape ensures they stay put and don’t roll away on inclined surfaces—a common annoyance in dynamic construction environments.
What is the difference between hard and soft carpenter pencils?
Carpenter’s pencils typically come with either a hard graphite lead or a medium graphite lead. Hard graphite leads are designed to resist breaking and are better suited for rough or uneven surfaces, while medium graphite leads produce clear, accurate lines and are ideal for marking precise measurements.
Why are carpenters pencils oval?
First, because their shape has a larger surface area, carpenter pencils are easier to grasp than ordinary pencils. Second, the lead of a carpenter’s pencil is generally oval, so it is easy to draw lines of different thicknesses by slightly rotating the pencil.
Sources
[1] https://en.wikipedia.org/wiki/Carpenter_pencil
[2] https://www.homedepot.com/p/The-Home-Depot-Oversized-Carpenter-Pencil-10351/100568306
[3] https://www.gpencil.com/category/carpenter-pencils-bulk.php

