Discover why master craftsmen swear by carpenter’s glue for creating joints that last generations – and learn the techniques they don’t teach you.
Understanding Carpenters Glue: More Than Just Yellow Adhesive
In the world of professional woodworking, carpenter’s glue stands as a cornerstone of quality craftsmanship. This seemingly simple yellow adhesive, technically known as aliphatic resin adhesive, has revolutionised modern woodworking. Studies show that properly executed glue joints can be up to 80% stronger than the wood itself, making it the preferred choice for master craftsmen. Today’s carpenter’s glue combines advanced polymer technology with user-friendly characteristics, offering quick set times, excellent initial tack, and superior bond strength that can last for generations.
The Chemistry Behind the Bond
At its core, carpenter’s glue works through a fascinating chemical process. When applied, the liquid adhesive penetrates the wood fibres, creating mechanical and chemical bonds as it cures. The aliphatic resin molecules form cross-links during drying, resulting in a bond that’s typically stronger than the wood fibres themselves. This process is optimised when the glue is applied at temperatures between 13-30°C, with relative humidity between 45-75%.
Types of Carpenters Glue and Their Specific Uses
- Type I: Waterproof formulation, ideal for exterior applications and high-moisture environments
- Type II: Water-resistant, perfect for interior projects with occasional moisture exposure
- Type III: Standard interior grade, excellent for furniture and general woodworking
- Quick-Set: Specially formulated for reduced clamp time, ideal for production environments
- Dark Wood: Tinted varieties designed to match darker timber species
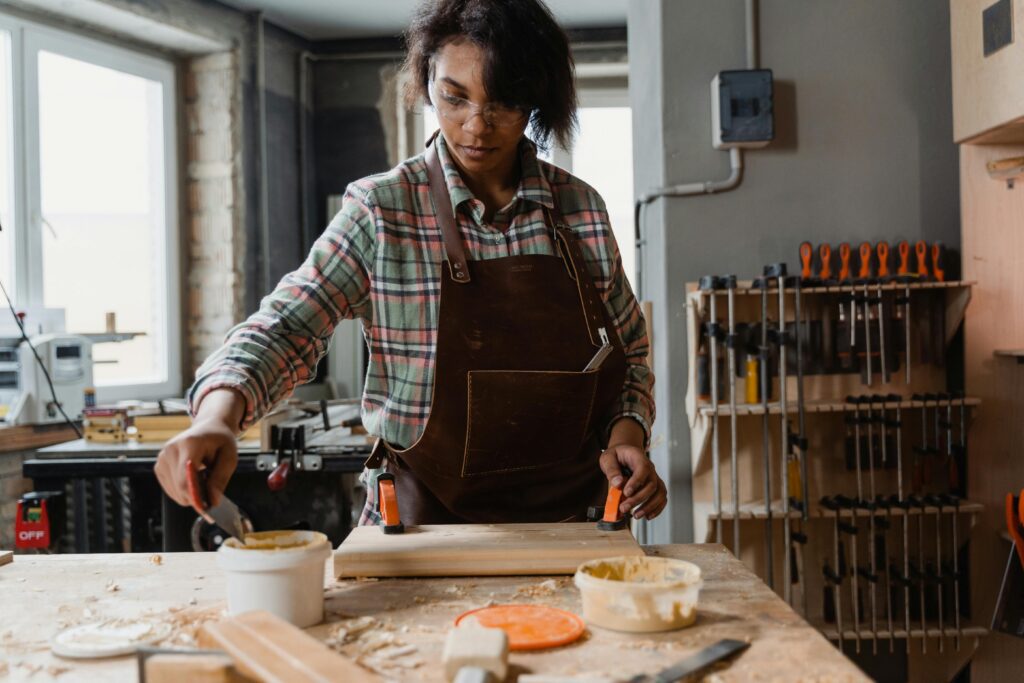
Professional Application Techniques for Perfect Joints
The difference between an amateur and professional-quality joint often lies in the application technique. Professional carpenters understand that successful gluing begins long before the adhesive touches the wood. Research indicates that proper application techniques can increase joint strength by up to 40%. The key lies in understanding surface preparation, environmental conditions, and application methods that maximise bond strength.
Surface Preparation Secrets
- Sand surfaces to 120-grit for optimal adhesion
- Clean all surfaces thoroughly, removing dust and oils
- Test-fit joints before applying glue
- Create slightly rough surfaces for better mechanical bonding
- Ensure wood moisture content is below 12%
Temperature and Humidity Considerations
Environmental conditions play a crucial role in glue performance. The ideal working temperature range is between 13-30°C, with relative humidity between 45-75%. Working outside these parameters can reduce bond strength by up to 50%. In cold conditions, pre-warm the wood and glue. In high humidity, ensure adequate ventilation and slightly longer clamping times.
Optimal Application Methods
- Apply glue to both mating surfaces for maximum strength
- Use appropriate amount – should squeeze out slightly when clamped
- Spread evenly using roller, brush, or specialised applicator
- Work within the glue’s open time (typically 5-10 minutes)
- Apply adequate clamping pressure
Maximizing Bond Strength: Expert Tips
Professional woodworkers know that achieving maximum bond strength involves more than just applying glue and hoping for the best. Recent studies show that proper clamping techniques can increase joint strength by up to 30%. The key lies in understanding the relationship between pressure, time, and temperature during the curing process.
Clamping Pressure and Duration
- Apply pressure between 100-200 PSI for hardwoods
- Reduce pressure to 30-100 PSI for softwoods
- Maintain pressure for minimum 30 minutes
- Allow 24 hours for full cure before stress
- Use multiple clamps for even pressure distribution
Working Time Management
Time management is crucial when working with carpenter’s glue. Most professional-grade adhesives provide 5-10 minutes of working time before initial set begins. Plan your assembly sequence carefully, ensuring all necessary tools and clamps are ready before applying glue. Studies indicate that joints assembled within the first 5 minutes achieve optimal strength.
Clean-up Techniques That Won’t Compromise Strength
- Remove excess glue after initial set (about 30 minutes)
- Use slightly damp cloth for fresh glue
- Avoid over-wetting the joint area
- Clean dried glue with chisel or scraper
- Sand only after complete cure (24 hours)
Common Mistakes and How to Avoid Them
Even experienced craftsmen can fall prey to common gluing mistakes. Understanding these pitfalls is essential for achieving professional results. Industry data suggests that over 60% of joint failures are due to improper application or curing conditions. Let’s explore the most critical errors and their solutions.
Over-application and Its Consequences
- Excessive glue weakens joints
- Creates cleanup challenges
- Wastes material and time
- Can interfere with finishes
- May prevent proper joint closure
Temperature-related Failures
Temperature plays a crucial role in glue performance. Working in conditions outside the recommended range can lead to weak bonds or complete failure. Studies show that working below 10°C can reduce bond strength by up to 40%. Always ensure both wood and glue are at room temperature before use.
Joint Design Errors
- Insufficient surface area for bonding
- Poor fitting joints
- Incorrect grain orientation
- Inadequate mechanical support
- Wrong glue type for application
Special Applications and Advanced Techniques
Professional woodworkers often encounter challenging situations requiring specialised approaches. Understanding how to adapt standard techniques for special applications is what sets expert craftsmen apart. Recent advances in adhesive technology have expanded the possibilities for complex joinery by up to 40%.
Professional Insights for Long-lasting Results
Success with carpenter’s glue comes from understanding that it’s not just an adhesive – it’s a crucial building material that requires respect and expertise. Remember that proper technique, patience, and attention to detail are your best tools for creating joints that will last generations. Always test new techniques on scrap materials first, and never rush the crucial steps of surface preparation and curing time. With these professional insights and careful attention to detail, you’ll be well-equipped to create woodworking projects that stand the test of time.
FAQ
How long does carpenters glue last?
The stated shelf life of wood glue typically is one to two years. However, the expected shelf life of many glues typically stretches well past those few years. For example, store a bottle of white or yellow wood glue (polyvinyl acetate, or PVA glue) in optimum conditions, and it can last 10 years or longer.
Is Gorilla Glue Carpenter’s glue?
Gorilla Dries Clear Wood Glue is an adhesive that woodworkers, carpenters, and hobbyists trust for their woodworking projects. Gorilla Dries Clear Wood Glue, a PVA glue, offers the benefits of an easy-to use, water-based adhesive, with Gorilla strength.
Sources
[1] https://www.homedepot.com/b/Tools-Woodworking-Tools-Wood-Glue/N-5yc1vZca2x
[2] https://www.titebond.com/product/glues/d4d28015-603f-4dfc-a7d9-f684acc71207
[3] https://www.homedepot.com/p/DAP-Weldwood-32-oz-Carpenter-s-Wood-Glue-12-Pack-7079800492/205624649

