Unlock the secrets of precision woodworking as we reveal how a combination square transforms average cuts into masterpiece joints.
In the world of professional woodworking, precision isn’t just a luxury – it’s an absolute necessity. The combination square, often overlooked by beginners but revered by experts, stands as one of the most versatile and essential tools in any carpenter’s arsenal. With proper understanding and application, this humble tool can elevate your joinery work from acceptable to exceptional.
Understanding Your Combination Square Components
A combination square is far more than just a simple measuring tool. It’s a precision instrument that, when properly understood and utilised, can transform your woodworking projects. At its core, this versatile tool consists of several key components, each engineered for specific functions and precision measurements. Understanding these components is crucial for achieving professional-grade results in your joinery work.
The Rule and Its Markings
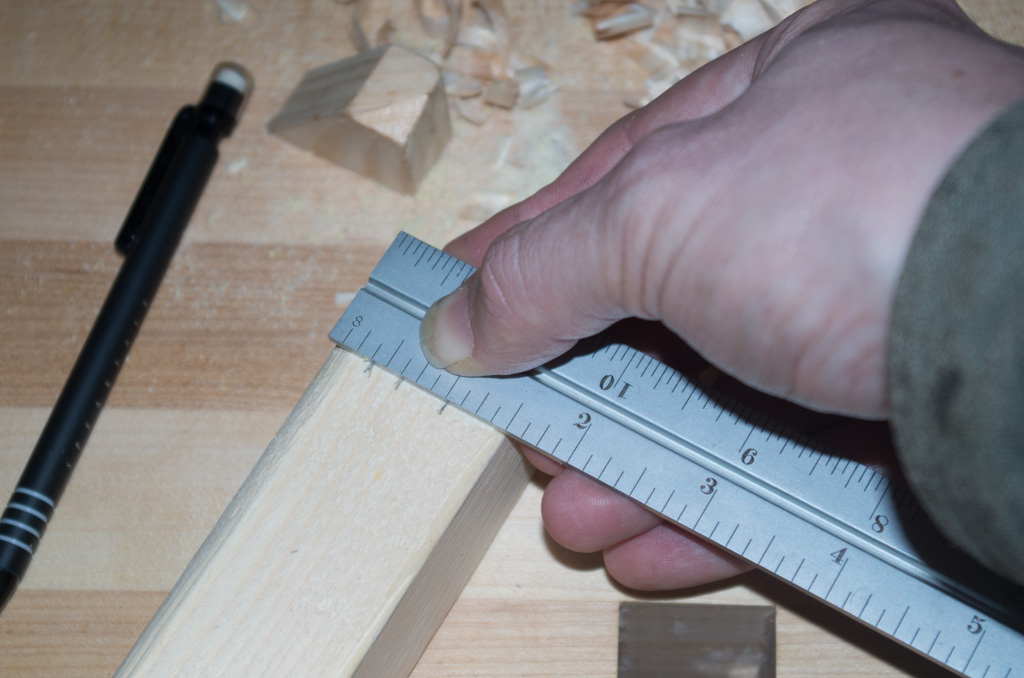
The rule, typically crafted from hardened steel, features precise graduations that are essential for accurate measurements. In the UK market, you’ll find rules available in both metric and imperial measurements, with lengths ranging from 150mm to 600mm. The markings are typically etched or engraved rather than printed, ensuring longevity and accuracy. Premium models feature graduations accurate to 0.5mm, making them ideal for precise joinery work.
Head Types and Their Functions
- Standard Square Head: Features 90° and 45° angles, perfect for marking and checking right angles and miters
- Protractor Head: Allows for marking and measuring angles from 0° to 180°
- Centre Head: Specifically designed for finding the centre of round stock or marking circles
- Spirit Level: Integrated into quality heads for checking level and plumb
- Scriber: A removable marking tool for precise layout work
Locking Mechanisms and Adjustment Features
The locking mechanism is crucial for maintaining accuracy. Most professional-grade combination squares feature a brass thumb nut that provides smooth adjustment and secure locking. The sliding mechanism should move freely but without play, ensuring precise positioning along the rule.
Essential Joinery Applications
The combination square truly shines when applied to joinery work, transforming complex tasks into precise, repeatable processes. Understanding these fundamental applications will dramatically improve your woodworking accuracy and efficiency.
Setting Up Perfect 90-Degree Joints
- Position the head firmly against your workpiece edge
- Ensure full contact between the rule and surface
- Mark your line with a sharp pencil or marking knife
- Double-check measurements before cutting
- Use the built-in spirit level to verify vertical alignment
Mastering 45-Degree Miters
Creating perfect miters requires careful attention to detail and proper tool usage. Place the 45-degree edge of the head against your workpiece, ensuring the rule is flat against the surface. Studies show that even a 1-degree deviation can result in a visible gap in your finished joint, making your combination square invaluable for achieving professional results.
Marking Mortise and Tenon Joints
For mortise and tenon joints, the combination square becomes your primary layout tool. Use the rule to mark consistent depths and the square head to ensure perpendicular alignment. The ability to lock the rule at specific measurements allows for repeated accurate marking of multiple joints.
Advanced Techniques for Professional Results
Moving beyond basic applications, these advanced techniques will help you achieve professional-grade results in your joinery work. These methods are particularly valuable for complex projects requiring the highest level of precision.
Finding and Marking Centers
- Use the centre head to quickly locate the middle of circular stock
- Mark perpendicular lines to find exact centre points
- Verify measurements from multiple angles
- Use for laying out dowel joints and turned work
Checking for True Square
To verify true square, flip the combination square to the opposite side of your workpiece. If both measurements align perfectly, you’ve achieved true square. This technique is essential for ensuring your joints will come together correctly.
Depth Measurements and Consistency
Utilise the depth gauge feature for consistent mortise depths and tenon shoulders. Lock the rule at your desired measurement and use it as a reference for multiple pieces, ensuring uniformity across your project.
Maintenance and Accuracy Checks
Maintaining your combination square is crucial for ensuring continued accuracy in your woodworking projects. Regular maintenance not only extends the tool’s life but also guarantees precise measurements every time.
Regular Calibration Steps
- Check square accuracy against a known reference surface
- Verify rule graduations with a certified measuring tool
- Inspect and clean the locking mechanism monthly
- Test spirit level accuracy regularly
- Adjust sliding fit if necessary
Cleaning and Storage Best Practices
Store your combination square in a dry environment and clean it after each use. Apply a light coat of machine oil to prevent rust, and always keep it in a protective case or tool roll when not in use.
Common Mistakes and How to Avoid Them
Even experienced woodworkers can fall prey to common errors when using a combination square. Understanding these pitfalls is essential for maintaining accuracy in your work.
Alignment Errors
- Not maintaining full contact with the workpiece
- Failing to check for debris between surfaces
- Rushing measurements without proper verification
- Ignoring wear and tear on the tool
Measurement Inaccuracies
Always verify measurements from both sides of your workpiece, and remember that temperature changes can affect metal tools. Professional workshops maintain temperatures between 18-22°C to ensure consistent measurements.
Taking Your Joinery to the Next Level
With mastery of your combination square, you’re well-equipped to tackle more complex joinery projects with confidence. The key is to integrate these techniques into your regular workflow systematically.
Project Planning with Your Combination Square
Begin each project by establishing your key measurements and marking procedures. Create a checklist of critical dimensions and angles, using your combination square as the primary reference tool.
Building a Reliable Workflow
Develop a systematic approach to measuring and marking, always working from your reference faces and edges. This consistency will improve both speed and accuracy in your joinery work.
Ready to transform your woodworking projects? Contact Kent Carpenters for expert advice or professional carpentry services. Our team of skilled craftsmen understands the importance of precision and can help bring your woodworking vision to life with unmatched accuracy and attention to detail.
Sources
[1] https://en.wikipedia.org/wiki/Combination_square
[2] https://www.johnsonlevel.com/News/CombinationSquares
[3] https://hi-spec.com/blogs/news/the-many-uses-of-a-combination-square-in-diy-projects

