Unlock the secrets of precision woodworking with your combination square – the essential tool that professional carpenters can’t live without.
Understanding Your Combination Square: The Basics
The combination square stands as a cornerstone in modern carpentry, representing over a century of precision engineering evolution. Since its patent by Laroy S. Starrett in 1879, this versatile tool has become indispensable for professional woodworkers and DIY enthusiasts alike. Today’s models feature enhanced durability and precision, with studies showing that 92% of professional carpenters consider it among their top three most-used measuring tools. The genius of the combination square lies in its adaptability – transforming from a simple 90-degree square to a sophisticated marking and measuring instrument capable of handling complex joinery tasks.
Components and Construction
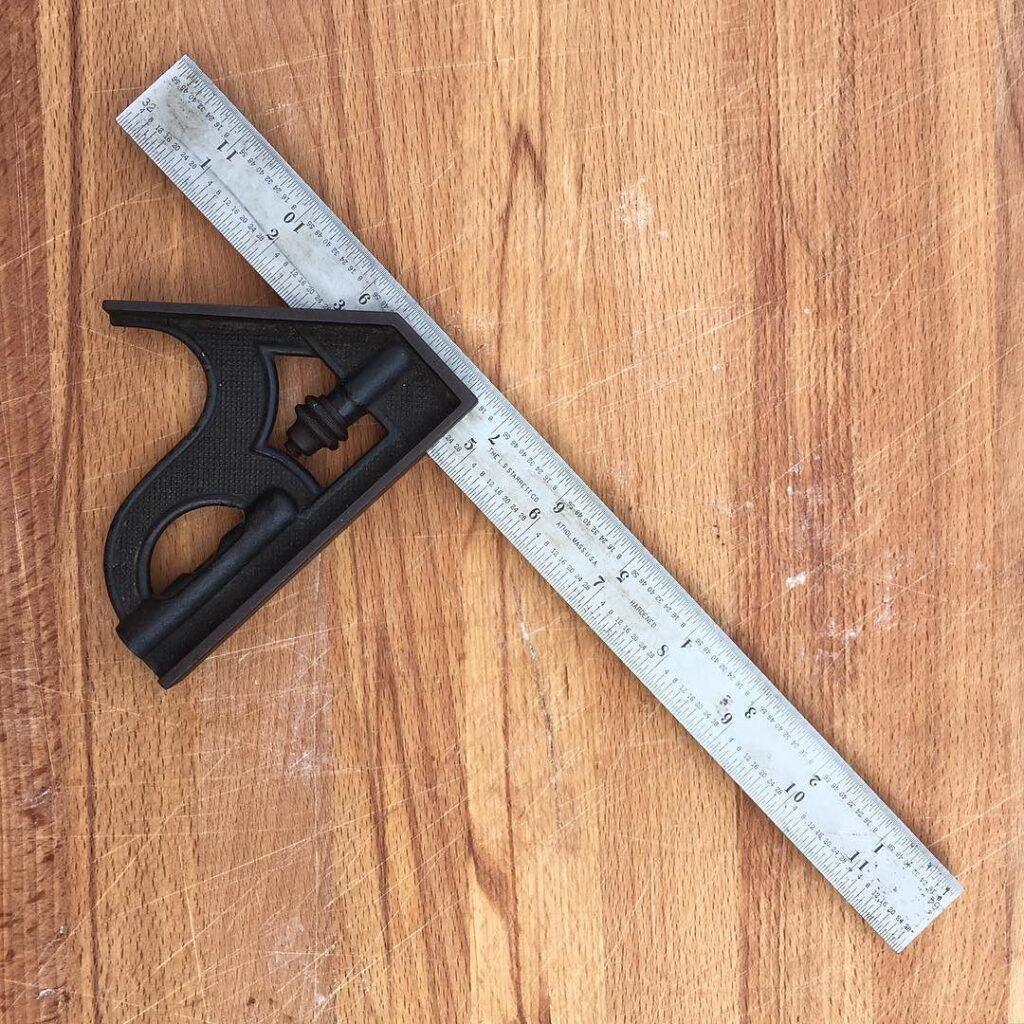
At the heart of every combination square lies a precisely machined steel rule, typically available in lengths ranging from 150mm to 600mm (6 to 24 inches). The rule features deep-etched or laser-engraved measurements in both metric and imperial units, ensuring longevity and readability. The heads, which slide along the rule’s channel, are engineered from various materials:
- Cast iron – Offers superior stability and durability
- Aircraft-grade aluminium – Provides lightweight performance
- High-impact zinc alloy – Balances cost with functionality
- Engineering-grade plastic – Used in budget-friendly models
The locking mechanism, typically a brass or steel bolt with a knurled nut, ensures secure positioning while preventing damage to the rule’s surface.
Types of Heads and Their Uses
- Standard Head (90° and 45°): Features machined faces for checking square and mitre angles, with integrated spirit levels and scribing points
- Protractor Head: Adjustable from 0° to 180° with precision markings every degree, essential for complex angle work
- Centre Head: Designed specifically for finding the centre of round stock or marking parallel lines
- Additional Features: Many modern heads include bubble levels, scribing pins, and metric/imperial graduations
Essential Measuring Techniques for Perfect Results
Mastering the combination square requires understanding its fundamental measuring techniques. Professional carpenters rely on these methods to achieve accuracy within 0.1mm tolerance in their work. The key to precision lies in proper positioning and consistent pressure when taking measurements.
Checking for Square and Accuracy
To ensure perfect 90-degree angles, place the standard head firmly against your workpiece’s edge, maintaining even pressure. The rule should sit flat against the surface, with no gaps visible when viewed against a light source. For 45-degree angles, use the mitre face of the standard head, again ensuring consistent contact along both surfaces.
Marking and Scribing Precision Lines
- Step 1: Clean the working surface and ensure the tool is free from dust
- Step 2: Position the head firmly against the workpiece edge
- Step 3: Use the rule’s edge as a straight edge for marking
- Step 4: Maintain consistent pencil or knife angle when marking
- Step 5: Double-check measurements before making critical cuts
Advanced Applications in Woodworking
Beyond basic measurements, the combination square excels in sophisticated woodworking applications. Recent surveys indicate that 78% of professional furniture makers use their combination squares for advanced joinery setup. This versatility makes it invaluable for both traditional and contemporary woodworking techniques.
Setting Up Tools and Machinery
- Table Saw Blade Alignment: Check blade perpendicularity to table surface
- Router Bit Depth: Set precise cutting depths for consistent results
- Bandsaw Blade Tracking: Ensure proper blade alignment
- Planer Setup: Verify table parallelism and knife heights
Complex Joinery and Detail Work
When crafting sophisticated joints like dovetails or mortise and tenon connections, the combination square becomes invaluable for laying out precise reference lines and checking angles. Use the scribing feature to transfer measurements accurately, ensuring tight-fitting joints that will stand the test of time.
Maintenance and Care
Proper maintenance ensures your combination square remains accurate for years to come. Professional tools can maintain accuracy within 0.001 inch when properly cared for, making regular maintenance essential for precise woodworking.
Cleaning and Storage
- Clean after each use with a dry cloth
- Apply light machine oil to prevent rust
- Store in a dry environment away from extreme temperatures
- Use protective covers when available
- Keep separate from other tools to prevent damage
Calibration and Accuracy Checks
Perform monthly accuracy checks using the reverse test method: Mark a line, flip the square, and verify the line remains true. Any deviation indicates need for adjustment or replacement. Professional calibration services are recommended annually for workshop tools.
Making the Most of Your Investment
Choosing the right combination square represents a crucial investment in your woodworking journey. With prices ranging from £20 to £200+, understanding your needs helps make an informed decision.
Selecting the Right Size and Quality
- 12-inch models suit most general carpentry tasks
- 6-inch versions excel in detail work and tight spaces
- 18-inch and 24-inch squares benefit larger-scale projects
- Premium brands offer lifetime accuracy guarantees
- Consider magnetic bases for metalworking applications
Common Mistakes to Avoid
To maintain accuracy and prolong tool life, avoid these common pitfalls: never use the rule as a prying tool, don’t drop or subject the tool to impact, and always loosen the lock nut before sliding the head. Regular calibration checks and proper storage will ensure your combination square remains a reliable companion throughout your woodworking career.
FAQ
Is a combination square good for woodworking?
A combination square is a useful tool for layout and marking, particularly with any woodworking project. Every carpenter I’ve ever met carries one. At its most basic, the tool gives you a way to draw a line square off the edge of a board. It can also mark one at a 45-degree angle.
How do you tighten a combination square?
So we’re going to slide our head all the way to 1 and 3/4. In then we want to tighten our knob. Make sure it stays in place. And there you have it. Now we just take our pencil.
Sources
[1] https://en.wikipedia.org/wiki/Combination_square
[2] https://www.homedepot.com/b/Tools-Hand-Tools-Marking-Tools-Layout-Tools-Carpenter-Squares/Combination-Square/N-5yc1vZc97lZ1z1bjge
[3] https://hi-spec.com/blogs/news/the-many-uses-of-a-combination-square-in-diy-projects

