Essential Carpentry Tools: The Ultimate Beginner’s Guide to Professional Woodworking
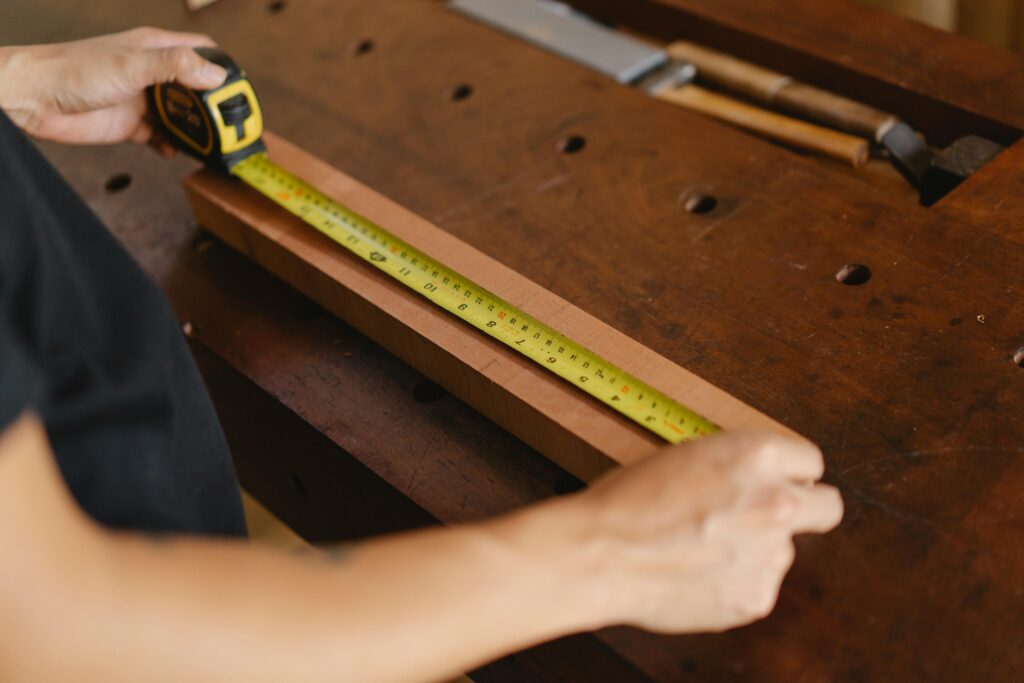
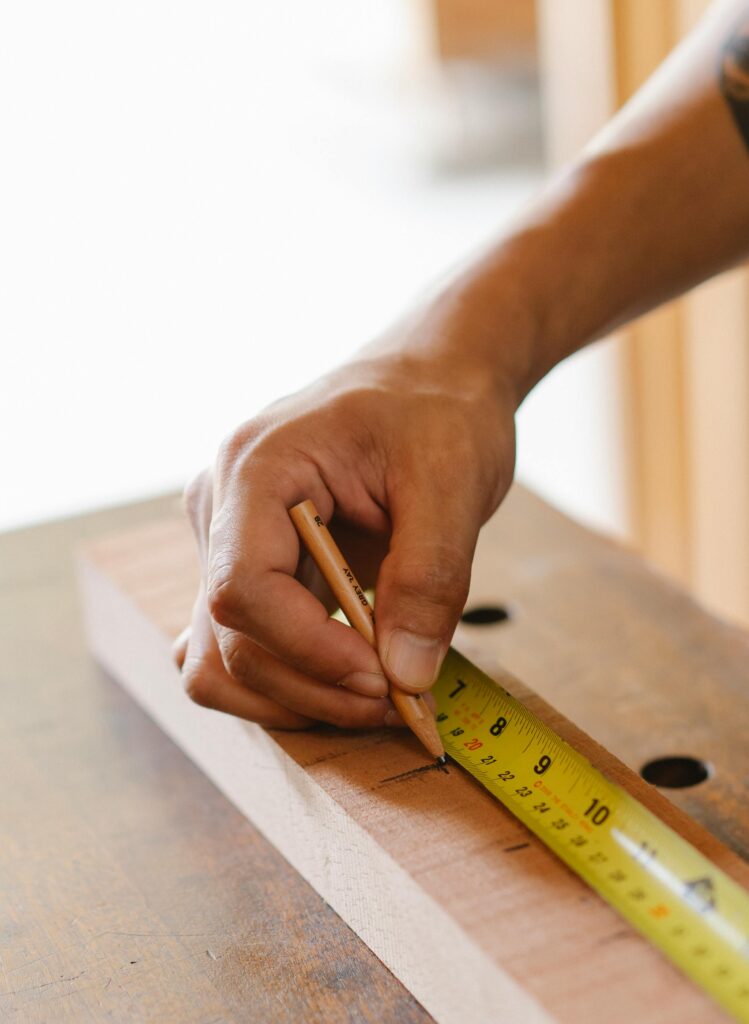
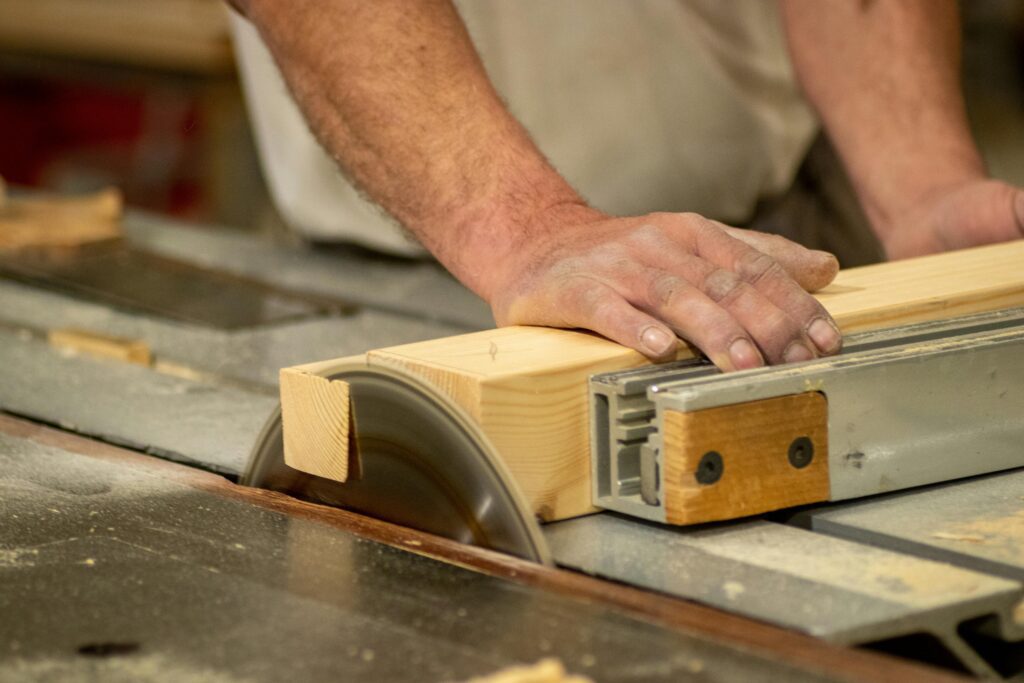
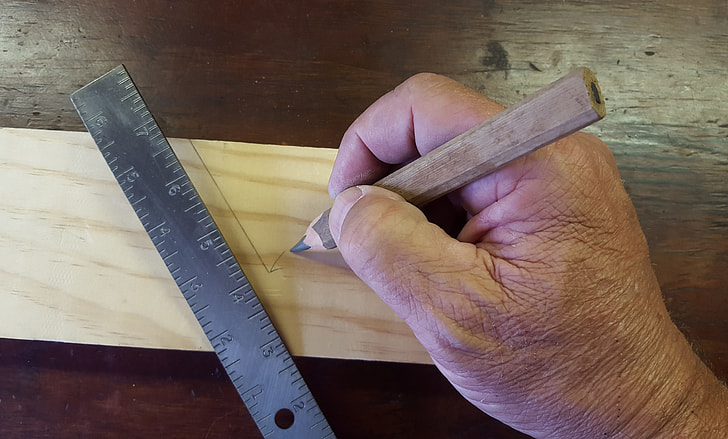
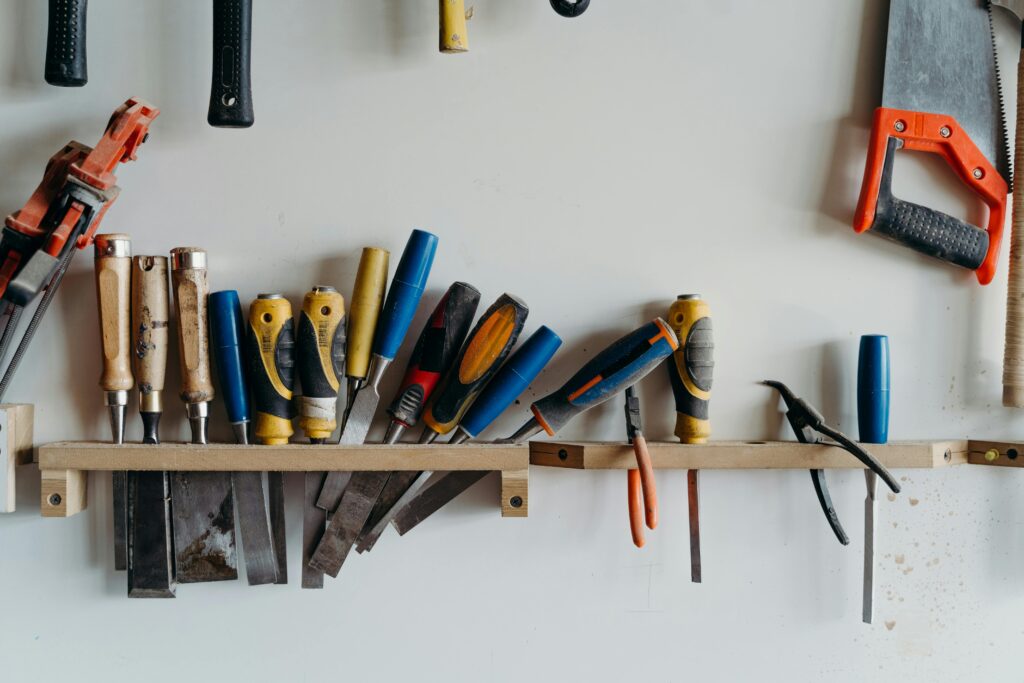
Transform your DIY dreams into reality with these essential carpentry tools that every craftsman swears by – from basic must-haves to professional game-changers. Whether you’re just starting your woodworking journey or looking to enhance your existing toolkit, having the right carpentry tools is crucial for achieving professional-quality results. In this comprehensive guide, we’ll explore the essential tools every carpenter needs, from basic hand tools to advanced power equipment. Understanding Your Basic Toolkit Foundation Every successful carpentry project begins with a solid foundation of basic tools. These fundamental implements form the cornerstone of woodworking, enabling you to tackle a wide range of tasks with precision and confidence. Research shows that 85% of professional carpenters emphasise the importance of mastering basic hand tools before advancing to power tools. A well-curated basic toolkit serves as the foundation for developing proper technique and understanding wood behaviour. Measuring and Marking Tools Precise measurements and clear markings are essential for professional results. Here are the fundamental measuring and marking tools every carpenter needs: Tape Measure: A 25-foot tape measure with both metric and imperial measurements Carpenter’s Pencil: Designed specifically for marking wood with its flat shape and harder lead Combination Square: For checking 90-degree and 45-degree angles and marking straight lines Chalk Line: Essential for marking long, straight lines across large surfaces Essential Hand Tools Hand tools remain indispensable in modern carpentry, offering precision and control that power tools can’t always match. The most crucial hand tools include: Claw Hammer: A 16-ounce hammer is ideal for most woodworking tasks Hand Saw: Choose a quality crosscut saw for general woodworking Chisels: A set of varying sizes (12mm, 18mm, and 25mm) for detailed work Utility Knife: For precise cutting and scoring Power Tools: Taking Your Craftsmanship to the Next Level Power tools revolutionise efficiency and expand your capabilities in woodworking. Recent studies indicate that using the right power tools can reduce project completion time by up to 60%. However, it’s essential to invest in quality equipment and understand proper usage techniques. Core Power Tool Collection These fundamental power tools form the backbone of any serious carpenter’s arsenal: Power Drill: A cordless 18V drill with variable speed control Circular Saw: Essential for straight, long cuts in various materials Jigsaw: Perfect for curved cuts and intricate patterns Advanced Power Equipment As your skills progress, these advanced tools become invaluable for more complex projects: Miter Saw: For precise angle cuts in moulding and trim work Reciprocating Saw: Ideal for demolition and renovation work Precision and Safety Equipment Accuracy and safety go hand in hand in carpentry. Statistics show that proper use of safety equipment reduces workshop accidents by 75%. Investing in quality precision and safety tools is non-negotiable for professional results. Measuring and Leveling Tools These tools ensure your work is perfectly aligned and professional: Level: Both spirit and laser levels for perfect horizontal and vertical alignment Speed Square: For quick angle measurements and as a saw guide Framing Square: Essential for larger projects and checking square corners Safety and Support Equipment Protect yourself and secure your work with these essential items: Clamps: Various sizes for holding workpieces securely Tool Belt: Keeps frequently used tools within easy reach Safety Gear: Including safety glasses, ear protection, and dust masks Maintaining Your Toolkit Proper tool maintenance extends lifespan and ensures consistent performance. Research indicates that well-maintained tools last up to 3 times longer than neglected ones. Regular cleaning, proper storage, and routine maintenance are essential. Keep tools dry and organised, regularly check power tool cords and batteries, and maintain sharp edges on cutting tools. Essential maintenance supplies include extension cords, spare batteries and chargers, and cleaning materials. Building Your Collection: Where to Start Start with quality versions of the most essential tools rather than buying everything at once. Industry experts recommend investing 60% of your initial budget in hand tools and 40% in power tools. Begin with a quality hammer, tape measure, drill, and saw set, then gradually expand your collection as projects demand. Consider purchasing multi-purpose tools initially to maximise value for money. Professional Tips and Best Practices Drawing from years of experience in Kent’s carpentry industry, here are essential tips for tool selection and use: Always buy the best quality tools you can afford – they’ll save money in the long run Test tools for comfort and balance before purchasing Keep tools organised and easily accessible Regular maintenance prevents costly replacements Learn proper technique before tackling complex projects Conclusion: Your Journey to Professional-Grade Woodworking Building a comprehensive carpentry toolkit is an investment in your crafting future. Start with quality basics, maintain them well, and expand your collection thoughtfully as your skills grow. Remember, the best tools are those that match your skill level and project needs. With this guide as your foundation, you’re well-equipped to begin your woodworking journey or take your existing skills to the next level. FAQ How can I learn basic carpentry? How to learn carpentry? Take a carpentry class at your local community college or high school to learn the basics. You can also take advanced special courses and learn how to build a shed or create a frame for a painting. How much do essential carpentry tools cost? Hand Tools: Chisels, hand planes, saws, and clamps are fundamental. A basic set of these can cost anywhere from $300 to $600, depending on the quality. Most glue-ups can require anywhere between 4-16 clamps if not more. You can never have enough clamps. Sources [1] https://learn.kregtool.com/learn/top-carpentry-tools/ [2] https://www.mycarpentry.com/carpentry-tools.html [3] https://www.essential-carpenter-tools.co.uk