
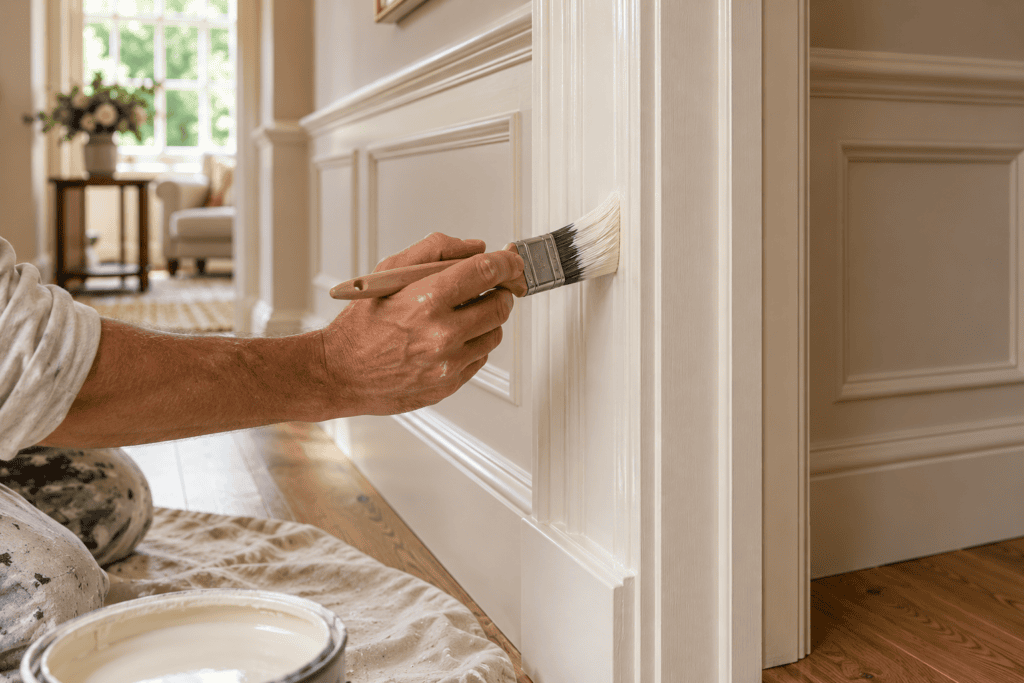
The new wardrobes are fitted, the skirting boards are straight, and the awkward alcove finally has a purpose. Your room is nearly there. Then daylight catches a rough edge or an unfilled fixing hole, and you realise how much the decorating still matters.
Painting and decoratingafter carpentry work brings all those separate details together. Done carefully, it makes new joinery feel part of the room. Rushed, it can leave good craftsmanship looking unfinished.
For homeowners updating a house in Kent or a London flat, the best starting point is a clear plan between the carpenter and decorator. Here is what to agree, what to check and where a little patience makes a difference.
Plan the finish before the carpentry is completed
Discuss the intended finish while the joinery is being designed. Painted wardrobes, clear-finished oak shelving and factory-finished doors need different preparation and handling.
Ask which surfaces will arrive finished, which will be primed and which will be bare. Confirm whether cupboard interiors, shelf undersides and door edges are included in the decorating quotation. These details are easy to miss when everyone is concentrating on the front of the unit.
Decide who will fill fixing holes, address small gaps and make good any disturbed plaster. There should be a clear handover between trades.
Some components can be coated before fitting, particularly where access will become difficult. Final decoration and touch-ups can then follow installation. Your carpenter and decorator should agree the sequence around the materials and finish.
Check the joinery before reaching for the paint
Walk through the room once the carpentry is installed. Open doors and drawers, check handles and look at the junctions between new woodwork and existing walls.
A door that catches needs adjusting before it is painted. A loose trim needs securing. A conspicuous gap may require a carpentry correction rather than a generous bead of filler.
For example, imagine new alcove cupboards beside an older chimney breast. The wall may be uneven, so the carpenter needs to resolve how the cabinet meets it. Decorating can refine that junction, but it cannot compensate for a poorly fitted panel.
Agree any outstanding adjustments before the final coats begin. This helps avoid drilling, trimming or sanding beside freshly finished surfaces.
Match the preparation to the material
Not every smooth-looking board is ready for paint. Ask the decorator to identify the substrate—the material being coated—and choose a compatible preparation and paint system.
Bare timber
New timber generally needs cleaning, suitable sanding and an appropriate primer before finishing. Knots or staining may need additional treatment specified for the wood and coating.
Dulux Trade’s priming guidance gives different systems for different situations, including new pine. That is a useful reminder to follow the chosen product specification rather than assume one coat of any primer will do. [1]
MDF
MDF is often used for painted fitted furniture and trim. Check that the primer is suitable for it, including any exposed cut edges. These deserve particular attention when assessing whether the surface is ready for a smooth finish.
Dulux Trade’s MDF primer guidance requires surfaces to be sound, clean and dry. [2] Your decorator should also follow the product instructions for application and recoating.
Factory-primed or previously coated surfaces
Ask what coating is already present and whether it is compatible with the proposed finish. “Pre-primed” does not automatically mean the surface needs no further preparation.
Veneered or factory-finished pieces need care: do not assume they can be sanded or painted in the same way as bare timber.
Understand the difference between filling and caulking
Small fixing holes and surface dents need a suitable filler that can be finished flush. Narrow junctions between trim and walls may need a paintable flexible caulk.
They serve different purposes. Ask which product is being used and why, especially where movement is expected.
Polycell describes its decorators’ caulk as a flexible acrylic sealant for areas subject to movement. Its stated overpainting time depends on conditions. [3] That means the programme needs to allow for drying, rather than treating caulking as something to rush through immediately before painting.
Large gaps, unstable joints and persistent movement should be investigated before they are covered.
Keep dust away from the finishing stage
Dust caught in wet paint can spoil an otherwise careful finish. Plan cutting and sanding before final coating wherever possible, and agree how the work area will be cleaned between stages.
Protect flooring, neighbouring furniture and fittings. Handles and other removable hardware may be taken off where practical so the edges can be finished neatly.
Dust control is also a safety issue. HSE guidance calls for control of wood dust, including extraction; suitable respiratory protection may also be needed for sanding. [4] If you are doing any preparation yourself, follow the tool and product safety instructions. Do not dry-sand unknown old coatings without first assessing their hazards.
Choose a finish for how the room is used
Think about daily contact as well as colour. A wardrobe door, a hallway skirting board and a decorative shelf face receive different amounts of handling.
Ask for a coating intended for the surface and use. A paint chosen for walls may not be suitable for furniture or trim simply because it comes in the right shade.
Eggshell, satin and gloss offer different appearances, but product performance varies. Compare actual samples and the manufacturer’s intended uses rather than choosing on the finish name alone.
Look at colour samples beside the flooring, wall colour and handles, in both daylight and evening lighting. For a large fitted unit, a sample panel can help you judge the proposed combination before the whole piece is coated.
Allow time between coats—and before everyday use
There is no single timetable that works for every decorating project. The products, room conditions, surface repairs and amount of joinery all affect the programme.
Follow the specified recoat intervals. A surface that feels dry is not necessarily ready for another coat or normal use.
Drying and curing are different stages. Benjamin Moore’s care guidance explains that paint should be fully cured before painted surfaces are cleaned. [5] Ask your decorator when shelves can be loaded, doors used normally and surfaces wiped down.
Putting books or ornaments onto a freshly painted shelf too soon risks marking the finish. Build that waiting time into your plans before unpacking the room.
What should the decorating quotation include?
For painting after carpentry work, a useful quotation should identify:
The joinery, edges and internal surfaces included.
Preparation, filling and making good.
The proposed primer and finishing products.
Protection, access and clean-up arrangements.
Responsibilities for hardware removal and refitting.
The work sequence, exclusions and approval of additional costs.
If existing walls also need decoration, clarify how far that work extends. Painting around a new cupboard and repainting the entire wall are different scopes.
Inspect the finished work together
Arrange a handover in normal room lighting and daylight where available. Look for consistent coverage, tidy edges, missed areas, rough patches and paint on fittings.
Check that doors and drawers still operate properly. Record any agreed touch-ups and confirm when they will be completed.
Keep the colour names, product details and care instructions. They will be useful when the room needs maintenance or a future alteration.
Frequently asked questions
Should carpentry be finished before decorating starts?
Complete dusty cutting, fitting and adjustments before final decoration wherever possible. Some priming or coating may happen before installation, so agree the sequence with both trades.
Can I paint new skirting boards straight away?
First confirm that they are secure, dry and properly prepared. Bare and factory-primed boards may need different treatment. Follow the chosen coating system.
How many coats will new joinery need?
The material, existing coating, colour and products determine the required system. Ask for the manufacturer’s specified preparation and coat schedule rather than relying on a universal number.
Can one team handle carpentry and decorating?
Yes, where the contractor provides both services. Confirm who manages each stage and that the quotation covers the full installation and finish you expect.
A well-finished room starts with those small agreements: who prepares each surface, which products will be used and when the room will be ready. Give the finishing stage the same attention as the carpentry, and the completed work has a much better chance of meeting your expectations.
About the contributor
Nemo Group UK provides painting and decorating, carpentry and home improvement services. Its work spans individual room updates and wider renovation projects. This guide focuses on the decisions homeowners can discuss with their tradespeople when coordinating new joinery, surface preparation and the final decoration of a home.

